February is Dental Health Month and I usually do a small 3 day unit on keeping our teeth healthy. I had so many cavities as a kid that it is my personal mission to help other kids by teaching them how important it is to brush morning and night, and to not eat too much candy and soda pop.
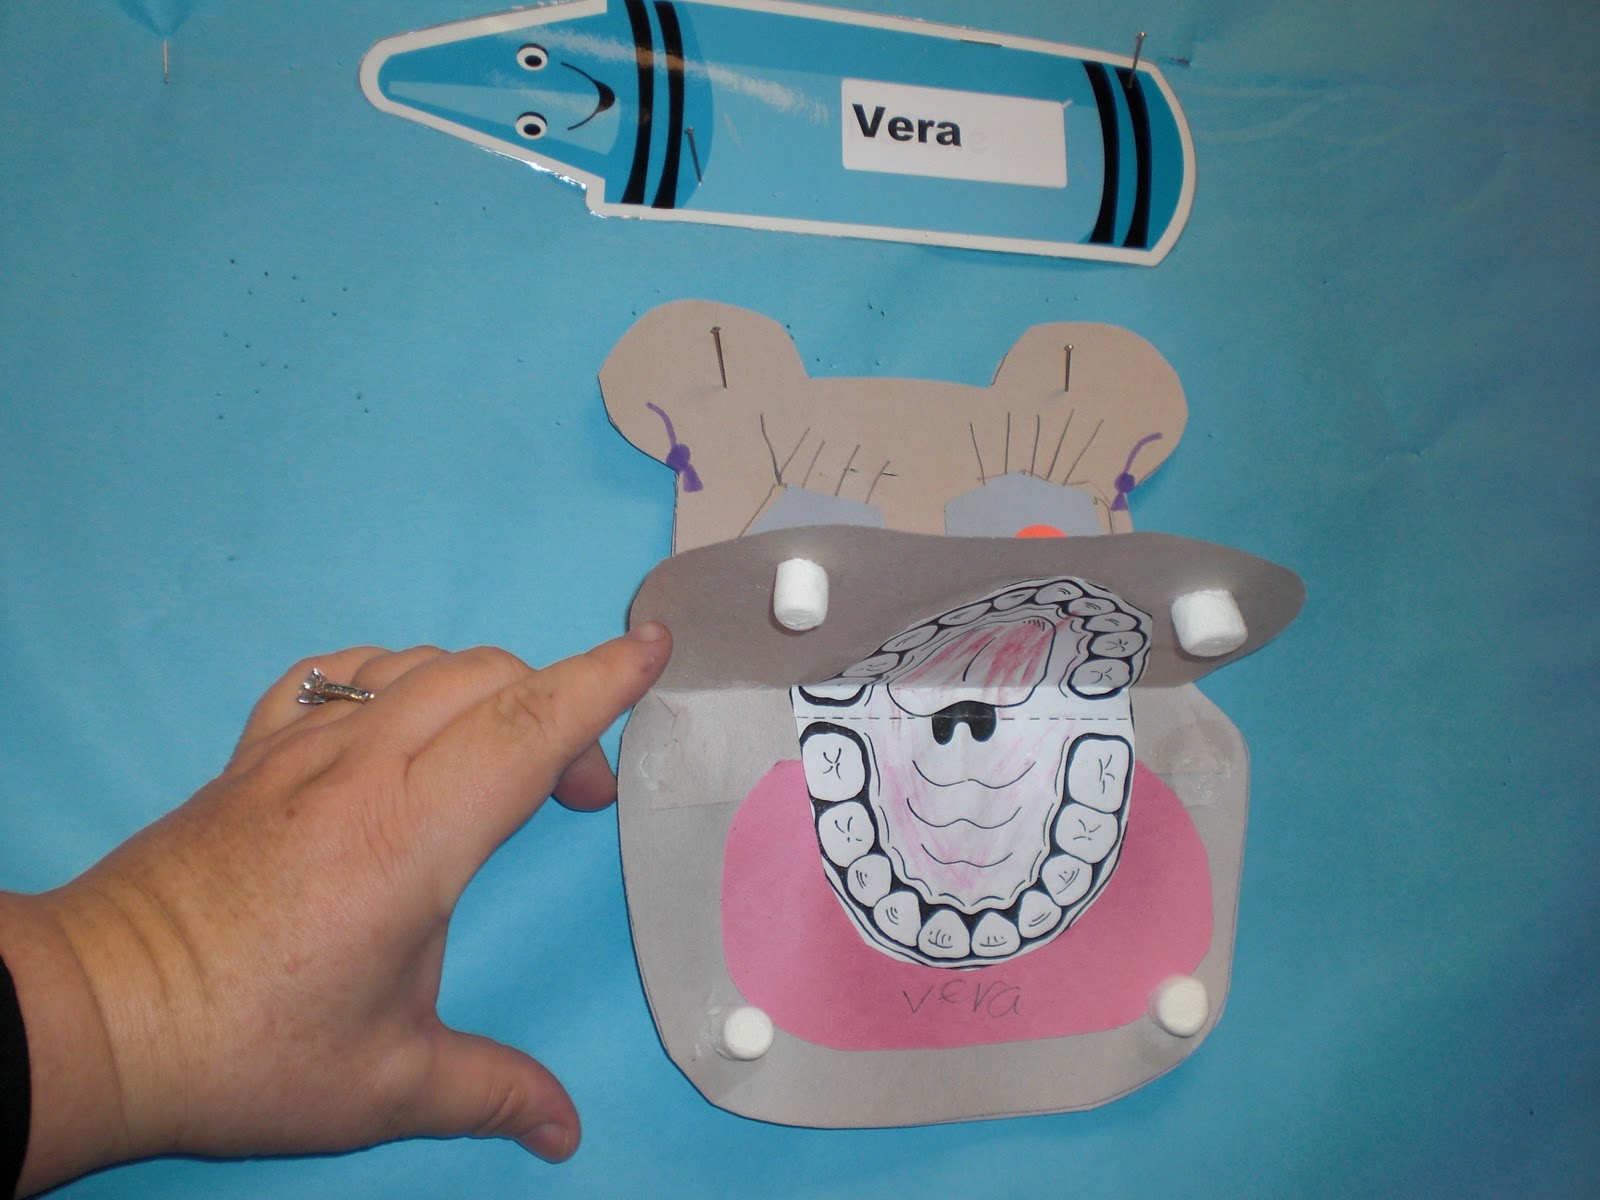
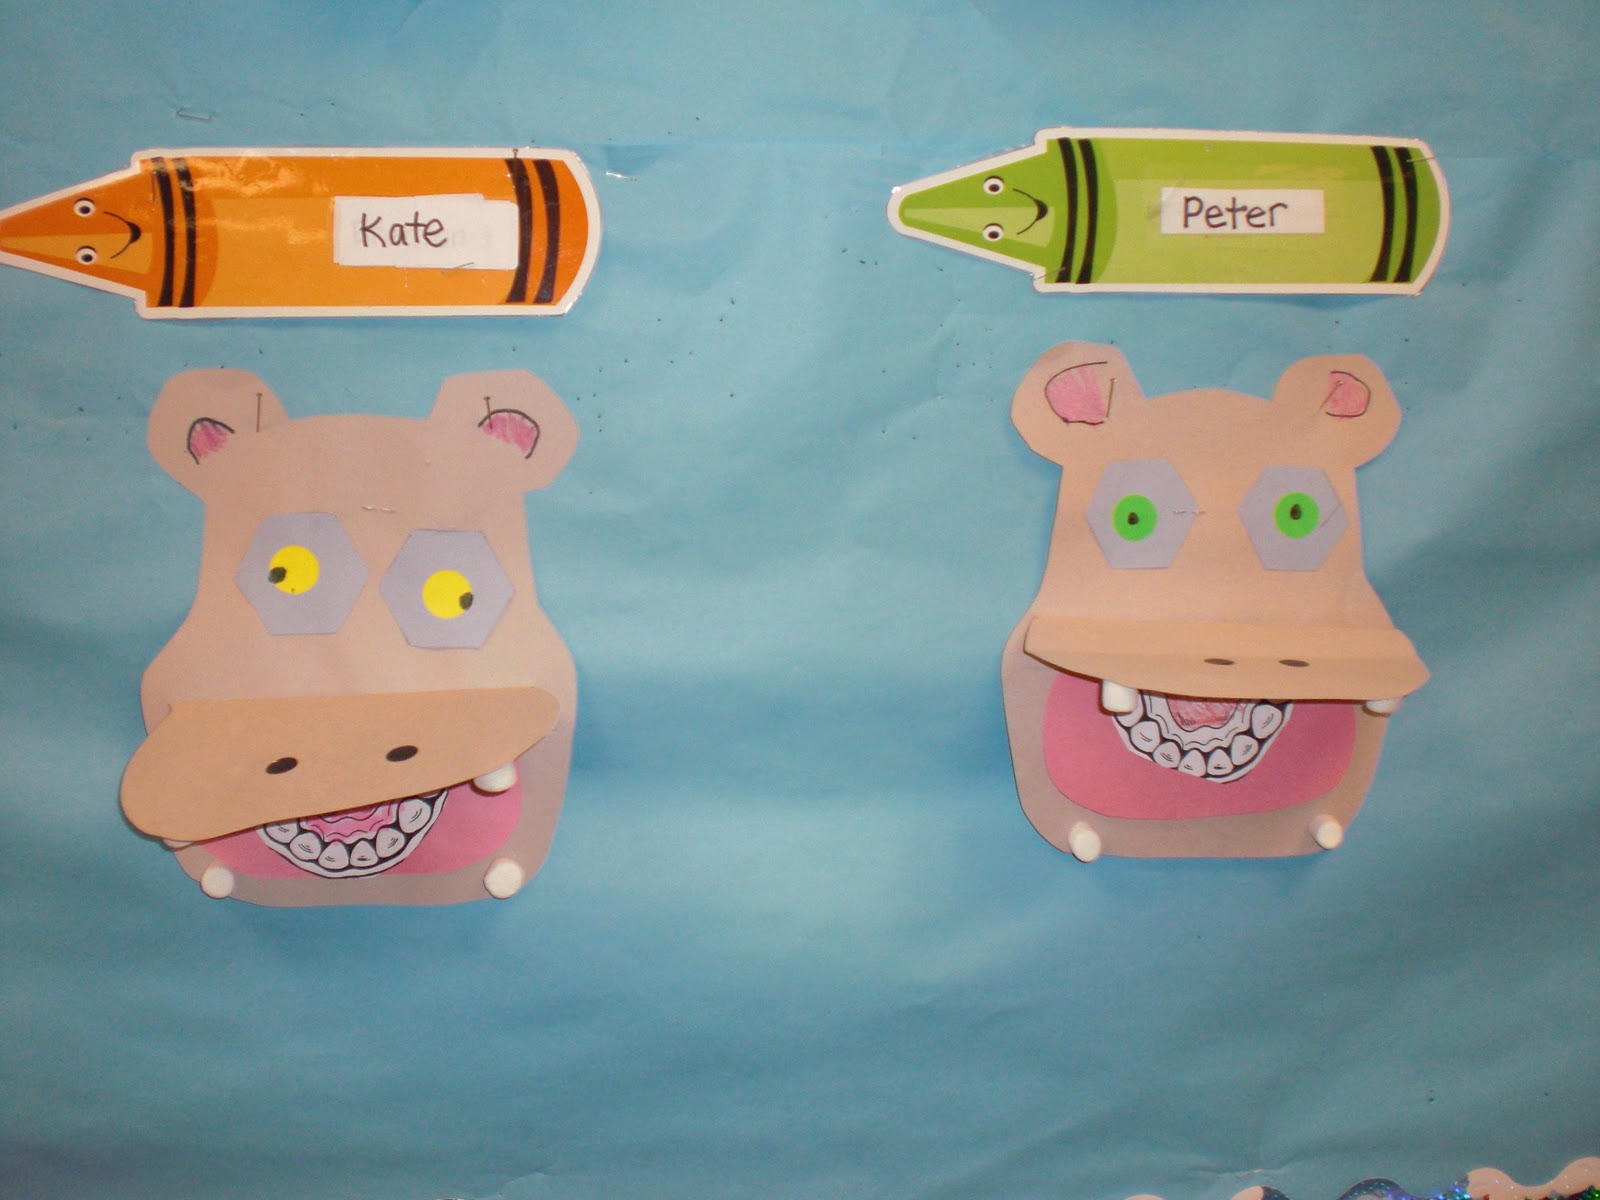
These hippos turn out cute…notice the 20 baby teeth and the “tusks”
So I kind of combine it with a nutrition lesson and we talk about things that are healthy to eat all the time, and things you can have as a special treat once in awhile. We start off like usual, reading a few books on the subject. Here are a few of my favorites. We also get the Weekly Reader or Scholastic News and it usually has a February Dental Health issue to read. We read one of those every day. Some have just animal teeth. We put up some vocabulary words like primary teeth, molars, dental floss, cavity, 32 Adult teeth, etc. and put the definitions in the pocket chart to play with for the week. Then we do a few fun worksheets to fill in the blanks and some math to find the hidden messages. We sing some songs too.
The Tooth FairyTells All Make Way for Tooth Decay The Tusk Fairy The Lost Tooth Club Tooth Trouble
This little tooth fairy box I made using the tutorial on Martha Stewart’s website LINK HERE
For the tooth fairy box in the picture above I just made the Martha Stewart design a lot smaller. It is easy to do. Kids can even make it, although it takes too much time. It’s a good parent project though. And the kids would love to take their teeth home in it when they fall out at school. 🙂
Class bulletin board…The kids listed facts they learned on the “tooth”
ART/CRAFTS
This gray Hippo has a big mouth full of 20 baby teeth. His 4 tusks are made of marshmallows. We put a Shel Silverstein poem on “How to Make a Hippo Sandwich” on the back as well as hippopotamus jokes. That’s always fun reading jokes to each other…. I always combine art with shared reading. Shared reading can be songs or poems or jokes, that type of thing….just to practice READING together as a class!
he haw the kids laughed at most of these…some they didn’t get I think !?
We glued this poem on the back of our Hippo Art…
Another of my favorite arts is watercoloring on a Tooth Fairy blackline. We add glitter to her wand and wings, then cut her out when she has dried. We back her with pastel butcher paper in yellow, pink, light blue and lavender. Then we write her letters asking questions. It’s always a hit.
Tooth Fairy Watercolor art project
We added glitter to our tooth fairy watercolor art
These Tooth Fairies will go in our portfolios….
WRITING:
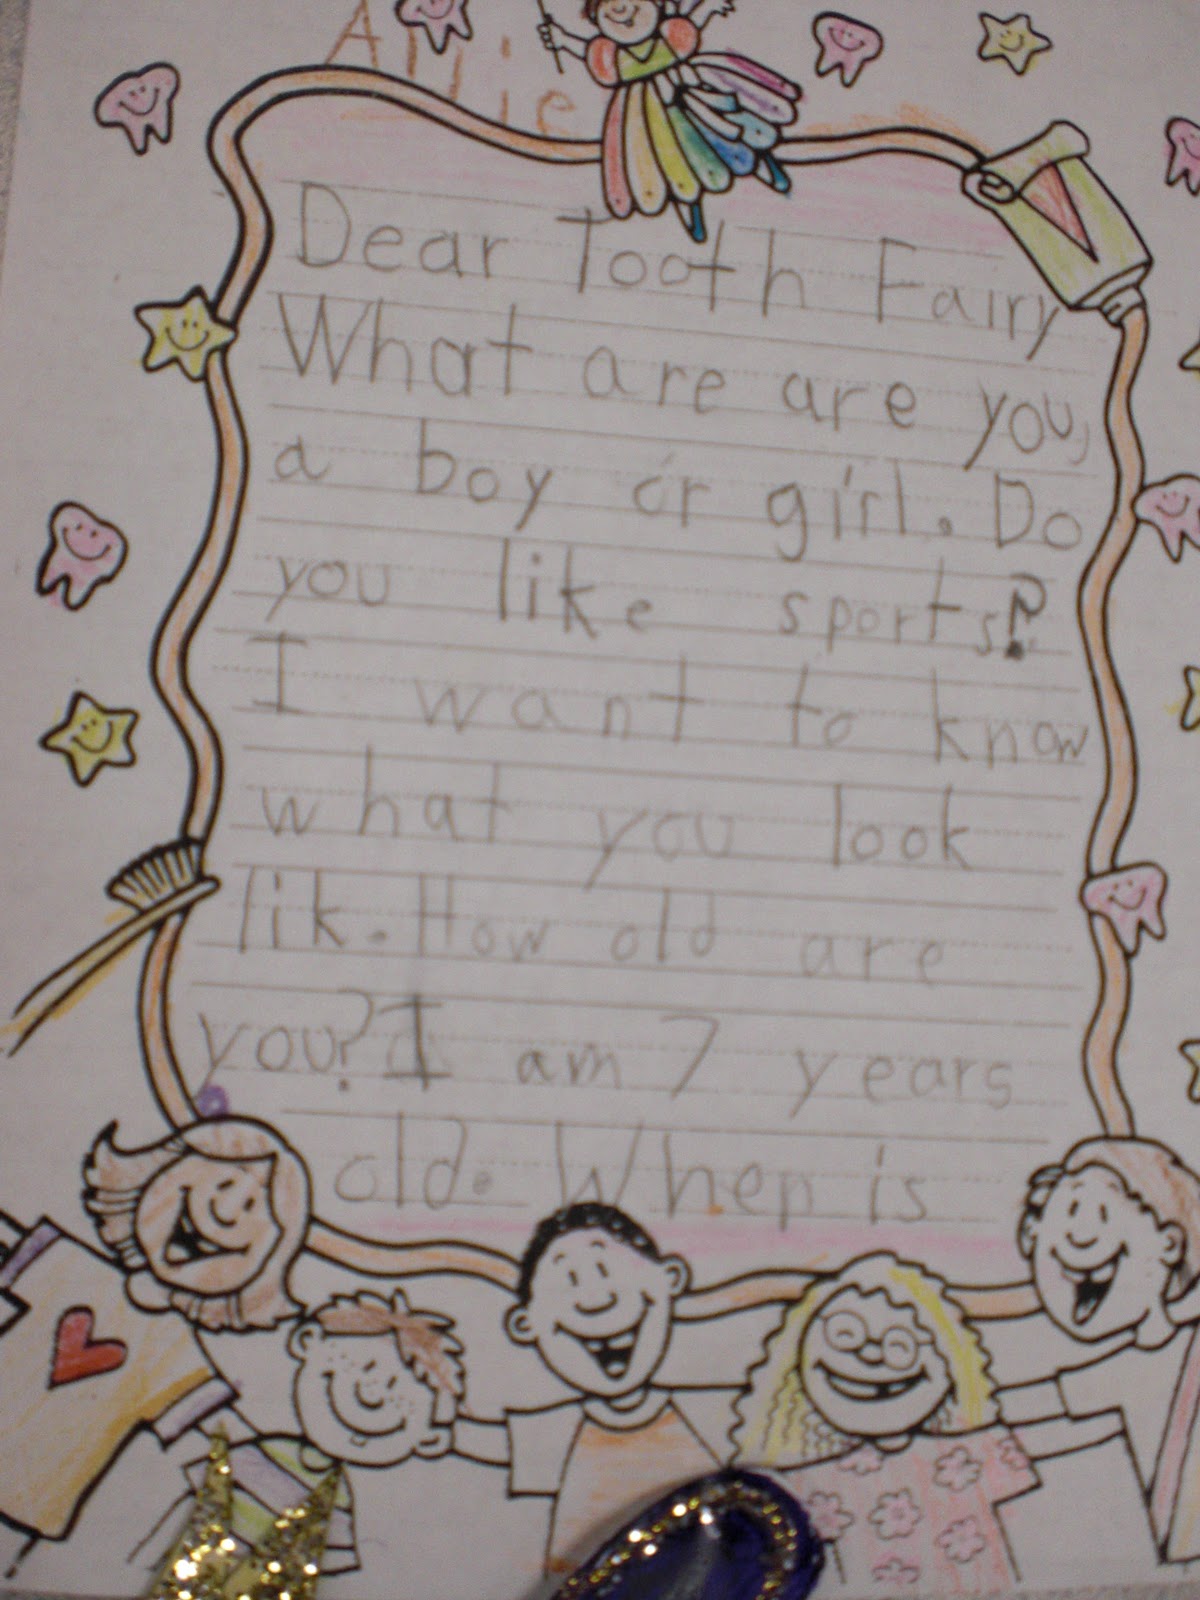
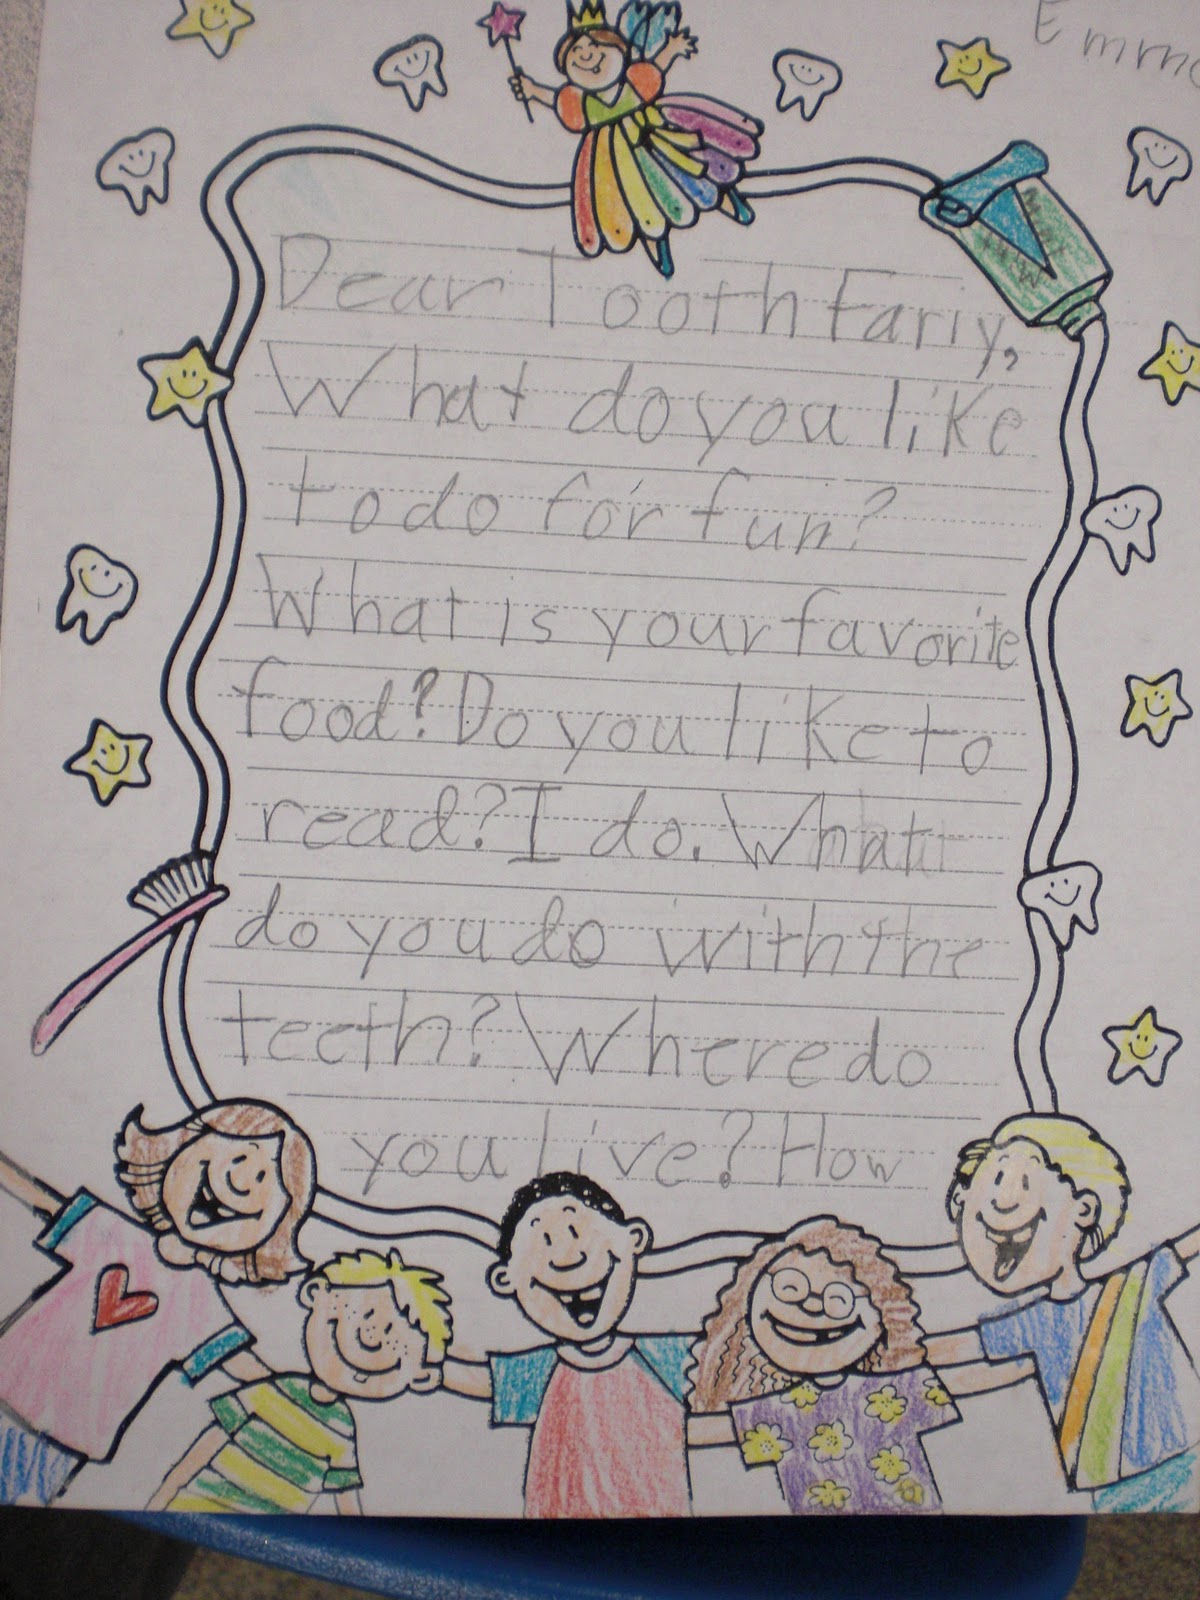
Brainstorm as a class what you’d like to ask the Tooth Fairy. My students have usually lost at least one tooth so they know what it’s all about. We then write letters to the fairy and go through the whole writing process, editing and rewriting on “Tooth Fairy” paper. We are going to see if she writes us back…do YOU think she will? We are leaving the letters on top of our desks for the whole weekend….we will see….
Letters to the Tooth Fairy…very nosy indeed! hehe
Tooth Fairy Letters
When we came in on Monday…We got fairy letters back!
Well, after we wrote letters asking the tooth fairy questions we left them out on our desks all weekend. And guess what? She came and visited over the weekend sometime.
I think this was Em’s fairy…very cute!
Allie did such a great job! I loved her painting!
And she left little letters in tiny envelopes to the kids. She was so sweet to answer all their questions! It was totally cute seeing the kids all excited to have a tooth fairy letter!
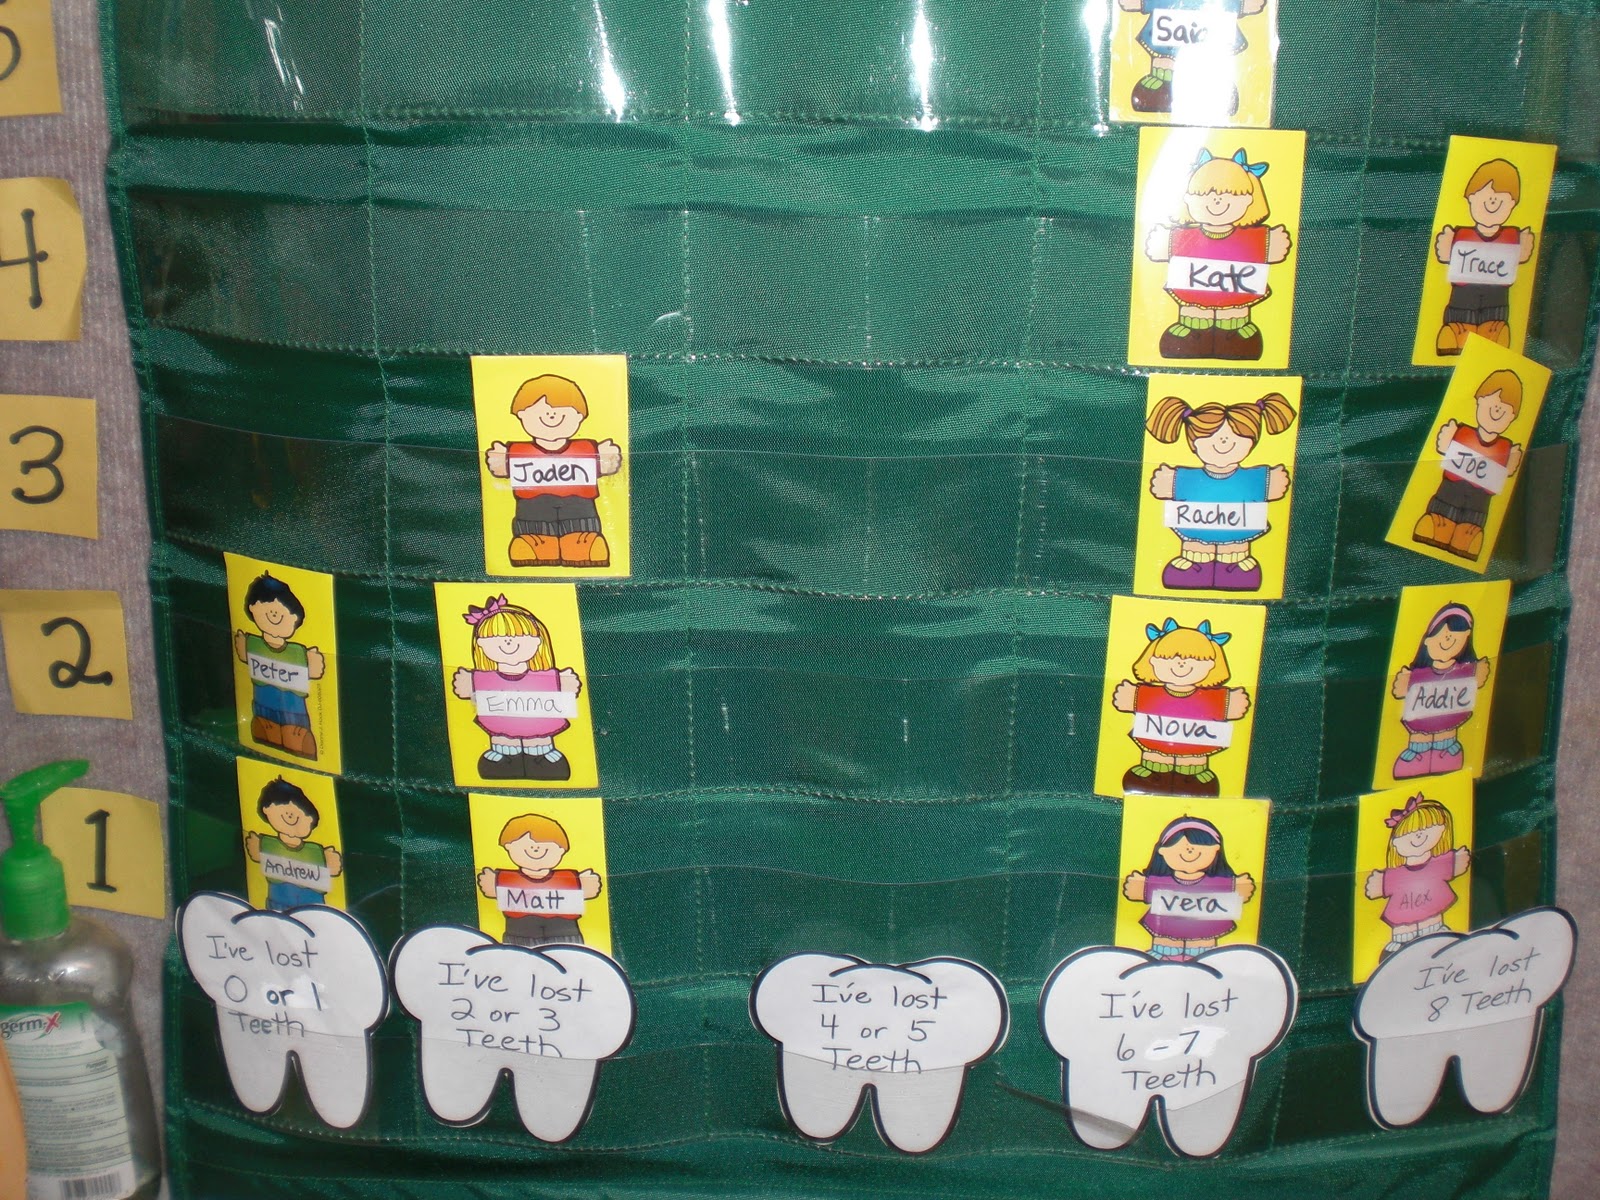
We graphed how many teeth we had lost, and then flossed our own teeth
Some had lost 8 teeth and some had lost NONE!
Dental Health Week
FLOSSING
That red thing is a big set of wind up clacking teeth, floss and a giant toothbrush.
Past years I have found individual flossers at the dollar store with like 30 in a package for a buck. Then I use 2 white pillowcases and have 2 kids put them over their heads. Then I use a rope to go between them as they stand very close together representing 2 teeth. It is funny for the kids, they all want to take a turn being a tooth. Or you can do the same thing with white styrofoam egg cartons. Using the bumpy backs as teeth the students use white yarn to go between the egg holders to”floss”. Then I pass out individual floss to practice. After lunch they can see what kinds of “materials” they floss from their teeth. Mmmm.
We read the Dental Health Weekly Readers and Scholastic News all week
BRUSHING
Some years we have a dentist in our class and they come in or send someone to teach brushing. Sometimes I just have to use my clackety clacking teeth model and a giant toothbrush. Some years Crest has sent me fun sticker charts and individual stickers and sometimes individual toothbrushes and tiny tubes of toothpaste. They haven’t done it the last 2 years. Maybe it got too expensive. So sometimes I look at the dollar store for toothbrushes to go home with a chart I make up and some stickers to go home encouraging weeks of perfect brushing for a fun certificate.
If kids want they can add to my Lost Tooth stories when they lose a tooth in class.
MATH AND SCIENCE CAROUSEL
A carousel is a strategy where each student visits a learning activity for a short visit (8 to 10 minutes) doing the activity on a “Theme Day”. Ring a bell after 10 minutes and kids move to the next station in a round robin fashion. Kids love it. Then a few of them can be left out all week for centers.
Roll a Tooth -Take turns rolling a die and fill up the 32 teeth in the mouth with mini marshmallows. ,
Tick Tack Toe with teeth counters. Play with a partner.
Graphing. Talk about your graph with the teacher using ONLY math words (greater than, equal, least etc.).Then Graph your favorite toothpaste or teeth lost.
Flossing -practice flossing on the egg cartons with yarn. Then floss your own. Brush the model teeth.
Check out the 3 types of stains on the hard boiled eggs… coke, grape juice, brush off with toothpaste
Math – Add up 3 numbers on the 3 cards. Write an equation. Use the giant smile as a counter vehicle if you need it to do the adding. We used paper folded 4 times into 16 square
A math game, make equations using 3 number cards…use the teeth for counters
Adding up 2 to 3 addends from cards chosen and put the equation on a 16 slot grid.
Use the giant smile for counting up the teeth in your equation.
Above is the math game….put the counters on the teeth as you go…then count it up…
I made the counters from 1 piece of 99 cent foam…it was easy!
Another game…See how many of each number you roll…by graphing it!
For Center 3 You can use little erasers from Oriental Trading to graph. They are only 3.99 for 24 and that would last for years for game counters or graphing counters. See them HERE.This year I ran out of money so I just went to Michaels and got some white foam for 99 cents and simply drew teeth shapes one night while watching TV. I might also try dry lima beans with little faces on them next time. 🙂 The fun part was when they had a pretty good sized graph I’d wander over to that center and ask… “Now tell me about your graph using math words like, equal, greater than, less than, least, most, how many more, how many less.” They are getting pretty good at describing the class graph. We try to change it every week.
I think my one sheet of foam made like 60 little teeth counters/graphers…
Here is a finished graph by Trace and J. and they descibed it to me perfectly.
CLASS GRAPH – HOW MANY TEETH HAVE YOU LOST? I always have my GRAPHING pocket chart up so it would be a fun to graph their favorite toothpaste flavor and see which one is the class pick. In the past I have cut out the front of boxes of toothpaste with their colorful labels to put in the pocket chart. But this year we have graphed how many teeth we each have lost.
A “Just for Fun” center…Tooth Tic Tac Toe
The girls really got into the game….
Center 2 – The fun Tick Tack Toe game can be found HERE at About.com. It was made by Beverly Hernandez. It’s very cute. I changed the counters to some cute tooth stickers I had in 4 colors that I liked better. I backed them with cardstock and had the game and counters laminated.
Center 1 – It’s a math game where you roll a dice and count out the marshmallows to place on 32 round circles in a mouth. I found it at A to Z Teacher Stuff in a fun unit called “Let’s Talk Teeth”. The link is HERE and Susan Payne is the author. There are lots of fun poems and chants also on this cute unit website. There is a cute poem entitled “The Tooth Fairy Came Last Night” I am attaching to the backs of our tooth fairy art projects. It will be fun for the kids to read and fill in the blanks with coin money.
These eggs pretty yucky when you pull them out of the coke & juice!
Center 5 – Looking at the experimental hard boiled eggs we put into Coke, Grape Juice and one in plain water. If you do this a day in advance like we did, it is a fun center for kids to see how food “stains” our teeth and for them to try to “brush” away the stains. You could also use some permanent marker on white bathroom tiles. I also have my red, plastic, clacking teeth they can practice brushing with my giant toothbrush. That is always fun.
The kids are trying to brush the stains off with toothpaste…it was hard…they said.
Scrub a dub that stained egg and pretend it’s your teeth!
Each Center has several books on teeth for fast finishers to read while they wait for me to ring the bell. This is always a fun week in school.
We skip listening post this week and just have teeth books there instead…
I sent them each home a monthly brushing calendar, some toothpaste, and one of those little pink pills you chew up to see where you forgot to brush. And hopefully they will all earn their certificate for filling out their month-long brushing chart! Parents, you’ll have to get right on that. 🙂 Love, Mrs. Moss
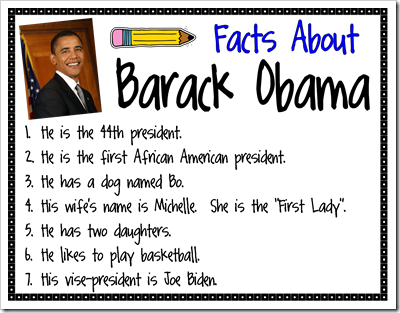
This week was Presidents Day holiday. Every year we study President Washington and President Lincoln. And we write a letter to the current president in writer’s workshop on…. “Dear Mr. President” And we are going to send them off to Washington to President Obama! Maybe he’ll send our class a note back! Wouldn’t that be exciting? Here’s his address…. The White House 1600 Pennsylvania Avenue NW Washington, DC 20500 After Reading lots of neato books on the subjects of Presidents….
And reading poems and weekly readers….
And MORE books and Scholastic NEWSPAPERS….
BOOKS:
A Picture Book of Abraham Lincoln by David Adler A Picture Book of George Washingtonby David Adler Abe Lincoln’s Hat by Martha Brenner Arthur Meets the President by Marc Brown A. Lincoln and Me Celebrating Presidents Day
We guessed how many pennies there were in the jar….
For spelling we did a making words activity to see how many words we could come up with out the letters in ”Presidents Day” And we did a secret code with our double digit addition math….the secret code word was LINCOLN!
We guessed how many pennies were in the jar for a prize….
Did you know he was on the $5.00 bill AND the penny? Cool! We knew it too…And Washington is on the quarter and the $1.00 bill.
HEREis a link to all the biographies of past presidents from the White House website. It’s interesting and informative for some background info.
We memorized and recited poems on Friday….
We wrote about Washington in our own words…on sloppy copies, then we made our Washington art projects, then final copies after Mrs. Moss had edited them for spelling boo boos.
We are learning coin money so here are Mrs. Moss’s tips…. Nickels have a building with a bump on the back, pennies have a flat topped building. Dimes have oak leaves and olympic torch on back, Quarters have an eagle on back, Washington on Front. Pennies have Lincoln on Front.
Nickels are worth 5 cents so they get 1 leg. (Draw a small line coming from your nickel)
Dimes are worth 10 cents so they get 2 legs. (draw 2 small lines coming from your dime)
Quarters are worth 25 cents so they get 5 legs. Each leg is like a nickel. (draw 5 lines)
Pennies get no legs.
Then count by 5s and add feet to each leg as you count (just an oval shape) as you count by 5s. When you get to the pennies, count only by ones. You can add a group of coins on a page this way. Easy peasy lemon squeezy! Put on the legs 1st, put on the feet as you count by 5s, then add pennies by ones.
Here are our finished Mr. Washingtons with our finished writing projects! Aren’t they so presidential? We wrote some things we had learned about George Washington. And how about those cute flags he’s holding?
Patriotic bulletin board for February…
Didn’t we do a good job?
We wrote first about President George Washington…since he was the FIRST!
We had a contest to see who could print the neatest on our President Washington writing. The top 3 winners were…..Well we are ALL winners, so Mrs. Moss gave us all cool Presidents Day Bookmarks for doing such a good job. AND these cool flags on a little stand to put on our desks. School is so cool!
Mrs. Gleave’s class next door made Mr. Lincolns. They are cute too!
These books are fun and easy to read and colorful too!
This is a directed drawing we are doing Friday….I’ll add pictures of them soon…
We will write facts about Lincoln on Log Cabin paper. He lived in a log cabin, don’t ya know? He would keep reading books inside his tall hat. Yup, he liked to read just like all the first graders!
We’ll count the pennies on Friday…..to see who won a giant pixie stick!
How many do YOU think there are……?
Hope you liked our Presidents Day Bulletin Boards and activities! We sure did!
Here’s some pictures of the last 2 weeks of school. We’ve had a lot of fun haven’t we? Have a Happy President’s Day Everybody! Have a fun holiday. Mrs. Moss
We watched this video and sang along to the song when we were doing our Lion art. I typed up the words for the kids to attach to the back of their lions as a shared reading/singing. It was fun. There is also a utube of cartoon characters dancing along with this rendition of the Lion Sleeps Tonight.
The past week we have been doing research reports on animals. We started with mammals and then moved on to reptiles. This is the way I start the unit.
Owimoway…The Lion Sleeps Tonight…
These Lions are only about 5 pieces. We traced and cut out the yellow pieces, paws, body, round face, 2 oval ears. and then backed them with orange mane. I used orange and brown crimped wrapping paper stuff that I bought at Michaels for the hair and a brown pom pom for a nose. Some kids added stripes on their lions. We added wiggly eyes and then brown chenille stems wrapped around a pencil and taped them on the back for a curly tail. This one must have lost his tail….OH NO!
We read several fun books on freaky looking animals and all about their habitats and features, whether they are born by an egg or alive, what they like to eat and where they are found. We talk about what makes a good non-fiction book. We decide which books are more interesting than others. The kids make all the decisions. Then we go to the library and pick out our own non-fiction book on any mammal or reptile of their choice.
I read a non fiction book or parts of one each day and we added facts to a little mini book. Then we usually did our report writing and some shared reading with art. Then we finished our illustrations and added to our individual tables of contents. The kids learned a lot of new vocabulary going through these books. They all know what an adaptation is, what talons, gills, habitats, scales, illustrators, author, dedication, glossary, camouflage, and of course the 5 animal species we are studying. I’ll post pictures of our finished reports in a few days.
Lucky for us our library has a great selection of animal books and Zoobooks and magazines on animal life. Then we come back and we try to look through our glossary or index to find pages where the animal habitat, eating habits or size and weight are found. I ask them to find a good fact in their book and share it out. There will inevitably be the one who talks about “this picture shows a mom giving milk to her young” or something like that. I ask them, “Would this be good to put in your research report? Why or Why not?”
Some are always right on top of it and explain it to the class for me. So we give examples of good facts to find and write. I tell them DO NOT write down anything you don’t understand. I tell them that most of the sizing will show inches or feet as well as meters or centimeters, and to choose the non-metric system of measurement because it is more common. They all know inches and feet, not so much on the meters.
Each week we studied a new type of animal and checked our new books from the library.
Then we pass out sloppy copy lined paper and go at it, finding facts. The next step is I put them into groups after about 7 or 8 minutes. The kids with similar mammals are grouped together. Some that have the same can share facts with each other. Otherwise they just share the file folder I give them that has an internet clipping, a card with facts or a magazine or book on their animal. My favorite website for internet clippings is Enchanted Learning. I tell them, “All good researchers get their facts from lots of sources, and not just one, that isn’t the best way to do research.” So they get more facts from other sources.
Many of the kids go home that night and get an internet printout of their animal with the help of mom or dad. The get a gummy bear or a sticker the next day for doing it, and I get to add to my internet clipping collection for next year’s class.
We painted these turtles (after stuffing a round stapled circle pocket with tissue paper to represent the turtle body) and used dot painters and bingo markers from Walmart for the colorful turtle shells. So cute!
We sang songs and did shared reading of these turtle poems when we were done with our turtles. I usually mix art with a reading activity OR a writing activity. I never do art in isolation. Mix it with a Language Arts activity ALWAYS! It’s an engaging way to get kids to read and write more….
Then we write 3 more facts or so. Altogether these are short reports only about 8 sentences, just a page and a half. But they ARE in first grade. Then we find a picture we want to trace, draw and color. I pass out white art paper and have tons of books on how to draw animals. Most of the kids do an extremely good job on their art projects. Nobody was done so I’ll have to post later the resulting reports and art they came up with.
The next day was “Snake Day”. So after reading snake books, we made these cool snakes. I cut long strips of butcher paper, about 3 feet by 5 inch lengths. Then I told the kids to fold a square on one end and glue a tongue (red 1/2 inch strip) to it and cut a fork in the tongue and I gave them 2 small black circle stickers to put on for eyes. You can see some did “girl snakes” with eyelashes. 🙂 . Then I told them to accordion fold the square back and forth leaving the tongue on the end.
Then we cut a little triangle out of each of the 4 corners of the folded accordion square, which cut all along the snake (kind of like you do with snowflakes). Then we opened them up, used dot stickers from Walmart and colored masking tape and designed our own snake. On the back we glued a poem called BLACK SNAKE. And we ended by reading our snake poems and chanting them to a snapping rap beat! You could use multiple colors of butcher paper for yours. Maybe next year I’ll use black to go with our “Black Snake” poem….
Lastly I do editing on their sloppy copies with a purple marker. Then after they go do their art they rewrite their reports nice and neatly on final copy paper they have chosen. There are 6 kinds of stationery to choose from, and all of them are cool looking with pictures to match the animal. This is one of the most motivating things for kids is to rewrite their edited reports on THEIR CHOICE of cool stationery. Here is a picture and the LINK I’ve bought 3 different stationery books from Scholastic. It’s one of the best purchases I’ve ever made as a teacher!
The third day we did alligators. I LOVE this poem by Dennis Lee. NOT Jack Prelutsky. I get them mixed up. Anyway we did an “Innovation” on his poem and made up our own verses to Alligator Pie. They are hilarious. The kids did sloppy copies from a sentence frame. Then I typed up their final copies and we made alligators to go with them.
______ pie, ______pie, If I don’t get some I think I’m gonna die! Take away my _____, give away my ______, but don’t take away my ________ pie! This is a sentence frame.
We keep adding to our animal matrix the features on each species of animal; mammals, reptiles, birds, ocean animals, and amphibians. It is a wonderful and fun way for kids to start learning researching skills. I LOVE the finished products. Each child has a book of 5 reports and illustrations, a table of contents and a glossary of vocabulary words we have studied in the unit and been tested on…4 words each week along with their spelling tests. And a mini book of all the animals we did as a whole class. Fun!
Animal Matrix…older classes could fill in their own individual matrix.
Our finished “snapping” turtles. Those dot painters last for years! I love them!
Next week we will start and finish our ocean animals unit and reports. We will make some seahorse and starfish puppets and of course read Rainbow Fish and Commotion in the Ocean, 2 of my favorite books. I found this fun video to show the kids in real time. It is from the SEA WORLD website. How many kids don’t love SHAMU? The Link for watching SHAMU the whale is HERE
The funny thing I learned about teaching kids about animals. The 5 weeks we do the animal species reports, they have to check out library books according to our animal species of the week. The 6th week I tell them, “Guess What? You can choose any book from the library this week, we are done with reports!” And the eye opener was when 85% of the class still go check out a book on another type of animal. Kids do love science. They need to be fed lots of it too. It’s inherently interesting to them and a good way to get them hungry for knowledge enough to go out and learn more on their own. And to me, that’s one of the most important reasons that I teach.
My principal just gave each teacher $100 to spend on classroom books. Guess which kind I’m buying? Mmmhmmm…
Along the way I give art projects and poems and songs as daily work for kids to do to learn about animals of the week so they can get an idea of which animal they are most interested in doing a report on. We studied snakes, monkeys, alligators, lions, turtles, frogs, parrots and the sloth and did an activity with them. I’ll post next our bird unit and ocean animal unit projects. Last is amphibians, but everybody does a frog report for that. 🙂
Rainsticks are another fun art that goes well with rain forest animals. Children paint or use markers or oil pastels on paper towel rolls or pringles cans. Fill with folded twice rectangles of cardstock and rice or beans. Cover each end with wax paper or pringles lids and tape up real good with masking tape. I’ve covered mine with african designs xeroxed strips from an African Hat book. The kids color in the designs. We won’t have time this week to make them. Maybe the last week of school we will!
This book is on my list. Kids love to trace, but some like freehand illustrating too. I had some great artists this year!
I think our finished book of 5 reports with illustrations, glossary and table of contents is going to be a cool project for the parents to see at parent conference time! And it makes a really neato rainforest bulletin board too!
Friday was our classroom Valentines Day Party. Everyone was very excited when they walked in the door with their bags of paper and candy valentines to pass out. We had worked so hard on our cute Valentine holders!
We always decorate a heart shaped cookie. Thanks to the PTA for providing the sugar cookies and pink icing. I add lots of different types of sprinkles. I have so many different sprinkles that everybody is sure to make a masterpiece!
Then we HAVE to play some Valentine Bingo games using markers made of conversation hearts. Then the fun part, passing out our Valentines to each other. First graders are really into this part of the fun and they love to look for everybody’s Valentine holder to match the names up with their card.
Here is how we make our Valentine Holders. They are really sturdy and always turn out pretty.
Cute Valentine Holders…kids decorate them with cut outs
I gave them die cutouts of valentine hearts, stickers and foam peel and sticks…
Another fun thing I do is to play Valentine Hot Potato using a stuffed heart about 10 inches in diameter. I play some fun rock and roll music and we pass the stuffed heart around till the music stops. Or another fun game is musical chairs. When the music stops if you are the one without a chair, come out and get a little lollypop, so nobody feels bad when they get out.
The Valentine Bulletin Board turned out so pretty…We wrote about the “Things and People we Love!”
I love the last line of this one…too funny!
We make crafts too. An easy and fun one for little kids is to make a red, white, pink and purple bracelet using a pipe cleaner/chenille stem, and some kind of valentine beads. I usually find what I’m looking for at Oriental Trading in the foam beads section. Link HERE These cute hearts are easy for little kids to put on a pipe cleaner. Or if you want to take more time, use lanyard plastic string and make necklaces. It is stiff and easy for little kids to bead with. You just have to tie it in a knot when you are done. This year we decorated and made parent cards. They turned out pretty too but I forgot to take a picture! There was a lot going on…
Playing Valentine Bingo with Conversation Hearts
A fun favor is to make popcorn treats using white chocolate melted and drizzled over warm popcorn. It is really cute with red and pink white chocolate disks, melted in the microwave. It makes a very pretty popcorn ball too. Wrap them in little clear plastic lollypop bags you get from any craft store, and top with these cute bag toppers. Just staple one on each bag. These gals Chica and Jo are real crafters and have lots of fun ideas. Link to the Popcorn Bag Tag HERE. I’ve never done these because of the cooking part, but it would be fun to do for neighbor gifts!
Making our cookies…I found these cute melamine plates at Smiths for 99 cents!
We frost them all with pink icing and have fun going crazy with the sprinkles!
The more sprinkles the better…yummy pink icing…
Addies mom and Js mom came to help us with the party!
Hey I just got a Bingo! Hip Hip Hooray!
cute decorations…
Some fun books to read…
We sing songs…read some cool books…
My very favorite Valentine Book…it has such a sweet ending…I love it!
Here’s my cute granddaughter eating one of our homemade cookies…isn’t she a doll?
I had to throw in a cut pic of my grandbabies makin’ cookies with me at my house too!
Aren’t they just the cutest kids? : ) I’m just sayin….
Our classroom finished works of art…almost too cute to eat!
Woo Hoo! Thursday marks 100 days of school. Well, not really, Friday marks 100 days on our calendar but since we have Valentines Day off on Monday, we celebrate Valentines on Friday. It’s complicated.
So we started out the day reading our “100s Day BAGS”. These are a fun homework project I sent home on Monday. Each student had to count out 100 edible items into a brown bag I provided. Then on the outside they were instructed to write 3 clues about what was inside. They couldn’t tell anybody. Here’s an example….
It is yellow.
It is shaped like a sphere.
It is sour WHAT IS IT?
Note home we attached to brown bags for our 100s Day snacks…
100s Day trail mix…yummy snack!
Then 3 kids can take a guess. The one who figures it out gets a gummy bear. Or if you stump the class YOU get the gummy bear. Anyway, we had a lot of kids stumped today. But the clues were excellent! We rip open the bags one by one and pour them into a giant bowl. Each student gets to dump their own and then stir the bowl with a scoop. It is all very exciting. Do you know what we are making? 100s Day Trail Mix of course!!! After everyone shares their clues we all get a giant scoop of it to eat for a snack! Yum.
This poem has 100 words!
Then we read a poem about 100s Day and Sang a 100Days in School Song to the tune of “The Ants Go Marching 1 by 1 Hoorah!” Next we do a math activity on a 100s chart. I call out about 20 math problems such as; mark an X on even numbers between 45 and 51, or mark an X on 5 tens and 6 ones, or 60 take away 10. Then we X out that number on their individual chart and color that square in. When we are done it makes a very clear 100. Fun!
Our tens and ones math activity clearly makes a 100!
Next I pass everybody out a crisp, clean, green $100 bill. I tell them all that they can buy whatever in the world they want with the money. They all ask me if it is real money and I lie and say, “Of course it is!” snicker snicker… We brainstormed for about 5 minutes and I wrote down everything from “A human clone” and “Teleporting Machine” to “A trip to Mars”. They have vivid imaginations.
Aren’t we cute?
Our 100 Days badges…we wore them around school all day!
After I talk them down about it not really being $100 bucks, and they get over their disappointment, (hehe) they all get in the mood and write what they would buy with $100 dollars. It is very funny to see and hear them plotting their Disneyworld and Seaworld trips and their teleporting here and there, the discussions going around just about cracked me up.
Awesome brainstorming…who wouldn’t want a teleporting machine?Oops I spelled puppies wrong..don’t look at that…
“I think I’d get a human clone for me so then I could make him do all the chores my mom makes me do” That was from J. He is so cute and super smart. “Well, I’d get an alien from Pluto, after I took a trip there.” I think that was from Andrew. He really liked our study of Space. I forgot who wanted to teleport, but I’d actually like to try that one myself! Ever seen the movie Jumper?! What a great idea!
What would YOU buy with $100 bucks? It goes a lot further in the mind of a 7 year old 🙂
Next, we passed out giant 100 signs and inside were 100 little doo dads to color. These we made into 100s Day Hats. They looked pretty cool when the kids cut out the holes inside the zeros so they could use them for cool glasses. Here is a picture of the kids sporting their cool 70s giant glasses look.
Groovy hats that also make glasses…100 items inside the one and zeros…
part of my class showing you almost 100 fingers!
While they were coloring I read them 2 books; The 100th Day of School, a cute book in rhyme, and 100 Hungry Ants, another rhyming book that divides 100 ants, many different ways. The kids enjoyed them both.
Very cute book in all rhyme dealing with multiplication
While we ate our cool trail mix made from lots of cereal, M &Ms, marshmallows and chocolate chips, I asked them what they think they will look like in 100 years. There were many funny comments like, “I’ll be super bald!” I gave them each an oval shape and told them, We ran out of time but I will have them “Draw it!”. We will scrapbook paper shirts or dresses, buttons, glasses out of wire pipe cleaners, cotton ball hair, and funny faces. I know we will have some hilarious results! Happy 100s Day!
Every year I have the kids do a class graph. And here is the question I ask. Which team will win the Super Bowl on Sunday? There are always some sports fans amonst the first graders who know the score. They know the players and the teams. This year it was Trace. He knows the teams and he was certain of the winner.
We each cut out a football to “VOTE” for our Team! Go Team!
Well, we shall see. I have a fun little challenge for the kids. Those who predict the winner correctly will win a football sweatband for their wrist. Those that predict incorrectly get to do 12 pushups. We decided on the number 12 because I told them I also have to do pushups if I lose. And I have lost in years past. It wasn’t pretty watching me trying to do more than 12. So we keep it at 12 pushups. (oh and all the kids will win the wristbands…they don’t know that yet though…I like to keep the competition going…)
The Pittsburgh Steelers against the Green Bay Packers
Here is our graph. Wish me luck. I’m rootin for the Steelers. Don’t ask me why. I’m not even a football person. It’s just because the kids made me choose. Fair is fair in the game of life…or football!
I can’t wait for the funny commercials. I’ve heard the Doritos ones are hysterical….But my favorite is the Darth Vader VW commercial. SO CUTE!!! .Happy Super Bowl Partying!
Nothing is more fun than telling the Legend of the Groundhog to a bunch of first graders. They are amazed that this little hairy rodent, correction……large hairy rodent is in charge of our weather! It’s hysterical to hear their conversations to each other about if he did or didn’t see his shadow and how that will affect the future. I had to talk them down, reminding them that a legend is not equivalent to science. But they think it IS all very scientific. I don’t know if they got it. At the very least they think groundhogs have some close family ties to Mother Nature!
Most of the kids predict an early Spring…I hope they’re right!
We all started the day doing a groundhog play and making our “props” (i.e. cool, buck toothed rodent hats) Everybody wanted to be the star of the show of course. Luckily Addie’s mom was my mother helper for the day and she had them just trade parts. Problem solved! Then we made our predictions and wrote them down. I told them the Groundhog is only accurate 80% of the time, he could still be wrong! So most of them went with his advice anyway…. You know kids and their animals…..:) Then we graphed our preditions on our giant class graph using little groundhog cutouts. Yup, Spring won out.
Ricky the Rodent….I mean….Gregory the Groundhog!
Then we read all about the Legend of Groundhog’s Day. I forgot to show them the utube of Phil in Pennsylvania, but I’ll do that tomorrow. It’s fun to see the actual little guy popping out. I wonder how old that dude is by now… like 200? He always looks very well fed, like a little portly for a rodent!
The Legend lives on…..
Today was a freezing day to go out and check out sun shadows! Ugh! But we did it anyways!
Then we made some cute little pop up groundhog puppets with the groundhog’s “house” being a cut in half paper bag and the 2 predictions on either side. I found some cute songs that go along with spring is early, or 6 more weeks of winter so we attached those to the bag and got out our instruments and sang songs. Then I passed everybody out a tatoo for Groundhog’s Day. We just took those home to try them out.
Groovy tatoos of the groundhog.
Then we wrote our predictions out. They were really cute. We will have to wait and see who is right and who is wrong. We talked about sun and shadows and how they are made.
I’m finished now with my teaching the whole first grade about space. The last lesson was on the power of the sun. We made little sunclocks and put a piece of red string around them. Then we went outside to check out the sun. It wasn’t as cold as yesterday thanks goodness, it was only about 20 degrees though. EEK! Super chilly. They also loved my little solar robot. We watched him walk around the playground. The kids would make a shadow over him and he would immediately stop. Then everybody would laugh. And they would hop out of the way so the sun could hit his solar cell and he’d start marching again.
I’m predicting I don’t last much longer in these single digit temperatures! Ugh! Bring on the sun Mr. Groundhog!
I found these very cute cupcakes in a magazine and I so wanted to bake some and make these too! But I forgot to bake them the night before. It is really the fault of my favorite show. It happened to be on last night and I get really glued to the t.v. when it comes on. (The Good Wife on CBS at 9:00). Oh well, maybe next year….
Aren’t these just the cutest things?
Not as cute as these girls! Their hats turned out so cute too…
My kids really loved doing the fun Groundhog’s Day activities. I hope his prediction is right this year. I’m slowly beginning to tire of shoveling snow off my car. I’m missing the beaches of sunny California. And so I can hardly wait for an early Spring. Happy Groundhog’s Day!
My class loves to study other cultures. Being a teacher educated in one of the true melting pots of America, Long Beach, California, a large port city, I was taught how important it is for other cultures in your classroom to be represented in your read alouds, hero study, art projects and social studies units. So every year I like to introduce the students to Chinese New Year. It’s fun to ask the parents of several students to bring in cultural items from their home that will teach the students something about the Japanese, the Chinese or the Korean culture.
We’re all ready for the Chinese New Year parade
Addie, Andrew, and Mrs. Kim, showing the Korean festival outfits.
One of my Korean students is Andrew. And his mom is Mrs. Kim. She offered to come in and give the kids some realia of Asian culture. Mrs. Kim brought in some Korean games, festival outfits, Korean coin money, and some rice cakes (you boil them, they aren’t cakes at all, who knew?) She is one of my monthly mom helpers. We LOVE mom helpers in our class!
Here is Vera, showing the rice cakes. The American variety are dry
puffed rice…who knew? These look much tastier!
After we read a cool Weekly Reader on Chinese New Year celebrations and the story of Sam and the Lucky Money, a real heart-warming story of how a Chinese boy is given leisees, or “lucky money” by grandparents to celebrate Chinese New Year. After perusing all the shops in Chinatown, he gives it away to a homeless man with no shoes, to help him buy some warm socks. I always get choked up and start tearing up as I get to the end of the storyI’m such a sap when it comes to a tear jerker ending.
Then we read and act out the 7 Chinese Brothers. It is always a hoot! I have chinese pointy hats I bought last summer at an outdoor market and we use those to depict the different brothers. They love to dramatize and role play, we have some future drama queens in our class!
Then we eat fortune cookies and play with chopsticks, trying to pick up little fuzzy balls with our chopsticks. Then we write fake fortunes and roll them up and everybody gets to come up and get one. Nobody knows who wrote them or who receives the one they wrote. Well, yes they actually are bad at keeping secrets, so by the end of the day everybody knows who got whose.
The next day we do some fun art. We made some Chinese lanterns out of construction paper. I folded paper in half and we cut across the entire piece in in inch increments, leaving the edges uncut about 1/2 inch.
If you want the kids to cut straight lines, have them draw ruler lines one inch apart, good math lesson for learning inches!
Open the folded part, wrap it around, then glue together, that’s it! Easy! We then glued a 1 inch white strip to top and to bottom edge.
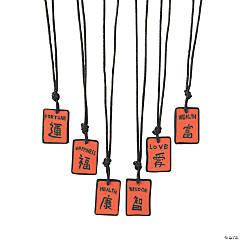
We wrote on the white strips some chinese numbers we had in our Weekly Reader. It was fun for the kids and now they all what a 1 and a 5 look like and how to say them in chinese! It was kinda cool! I saw these necklaces at Oriental Trading and thought we could do something like these using Modge Podge and some small tiles with holes screwed in them. I’ve seen these at art fairs where they have used scrabble pieces with pictures or letters Modge Podged on top. Kids would love these for Chinese New Year too.
Oriental Trading…a great place for crafty doo dads Check it out! I think this package is upside down, my bad!. But we used these symbols of chinese lfe on our pretty Chinese lanterns we made. Check them out in the photos below.
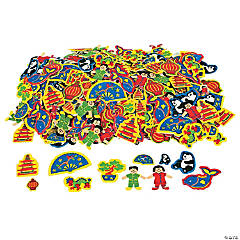
We then added a white strip along the tops and bottoms and put Japanese numbers and characters along the top in black.Then we used some Oriental Trading peel and stick foam decorations for Chinese New Years to decorate along the tops and bottoms of the lanterns. I think each student used 8 of them, 4 for top, 4 for the bottom strip. Lastly, we added a few crepe paper streamers to each one with a dragon or fish or lion decoration the students had colored. Then we glued them to the streamers. Don’t they look cute?
Notice the black scrolling on the white strips…it’s numbers!
Then we watched a Utube of a Chinese New Year Parade in San Francisco’s Chinatown with the giant dragon puppets maneuvered by a 5 or 6 guys. We read another story from our Basal Literature book called Chinatown. Peter taught us something that I didn’t know. Karate is a Japanese sport. Tae Kwan Do is Korean, and Kung Fu is Chinese. So there you have it. I learned something today from a 6 year old! Peter takes Tae Kwan Do, that is him in the white Tae Kwan Do outfit with the black belt.
Peter is showing his Tae Kwan Do outfit and some Korean games…
Our classroom ceiling decked out with our handmade Chinese lanterns…
Another book I will read them is Two of Everything. It was written by an acquaintance of mine who is Chinese. It depicts the culture in the homes and decor and dress of the characters. It is a cute story too about how everything that falls into the magic pot doubles, until finally the owner of the pot falls in and doubles himself! That presents a problem because his wife really doesn’t want two of HIM! gee, being a wife myself, I wonder why? Hmmmm.
Another really wonderful children’s book. I read to the class during Chinese New Year celebration week. Check it out below.
The Chinese kids are showing their “leisees” with Lucky Money.
Then we made some dragon puppets for the 1st/2nd grade parade around the school, this year on February 3rd. We will be singing, banging and clanging drums and cymbols, and yelling Gung Hay Fat Choy to everybody. That means happy new year in Cantonese. It really means “may good fortunes come your way” if you want a literal translation. I like how in the Asian culture red means “Lucky”. So the red dragon coming by your store or shop will bring you good luck. It’s kind of a sweet notion. I gave all the students leisees or lucky money red envelopes and told them to do some special chores around the house so their parents can fill them with “lucky money!” Picture HERE
Our colorful Chinese New Year masks! I bet you wanna come to the parade now, right?
So here are our dragon puppets. We colored them, put some groovy feathers on top and some large, round, sequins, to add a little BLING, and we cut out the eyes of the dragon so we could look out of the mask. How do you like them? Well….anyway…. I hope you all have a Happy Chinese New Year!
We went TOTALLY Polar last week and did some Polar Bear Watercolors. I found this neat link to a teacher who teaches art in an elementary school. She had a beautiful website that I just loved. So since I have a document camera in my class I can shoot anything from my computer up on the wall, pull-down screen. So I showed the kids some of her finished products with 1st and 2nd graders and showed them how she only used a few colors to do a fabulous evening snowy scene in an arctic habitat. (This would have looked a lot better on watercolor paper but I’m saving mine for the spring to do flowers on a picket fence, the paper is so expensive I can’t get a class set for every project!)
I love this one, this little guy is only 5! Cute Polar Bear Watercolors
The link for her wonderful work is HERE. It is called That Artist Woman. She is very talented. Anyway I scrolled up and down and we looked at how she did it. Then I gave the kids 2 pieces of regular white construction paper 9 x 11 and we just dove right in. I sprayed their papers with a spray bottle to get them kind of moist. Then I went around spraying their watercolors and gave each pair of kids a paper cup of water and a paper towel to share and paintbrushes. And we just started with blue at the bottom and made a “hill” for the animals to roam around. Then we added a little orange and yellow for sunset. Some of the kids added a little red too. Very watery I told them, very see through. Then we finished with purple across the top, like a real purply sunset. The one thing we did was I cut them all out a moon circle to lay over their work before they began. I think next time I would put a little piece of tape under it because for most of them it moved around too much and they lost the moon image. I shoulda thought of that!
Then we read some books about Polar Bears and I had copied a sheet of facts from the Magic Treehouse Series Polar Bears at . We looked at a Weekly Reader on Polar Animals and read and discussed it too. Then we did a Polar Bear Crossword Puzzle. The link for it isHERE It is from A to Z Teacher Stuff. I list the answers on the board for them to choose from as a word bank.
Winter Watercolor Scenes and Acrostic Poetry
Then I found a clip art page of arctic animals outlines of a polar bear, snowy owl, snowshoe hare, hedgehog, etc. When their polar bear watercolors dried, or while they dried we cut out the shapes they decided to use in their snow scenes. My only direction really was just choose no more than 3 per picture. Then when their pictures were dried we glued on the animals we chose onto the 2 pictures. I told them that I would put one, their favorite, up on the outside bulletin board. The other one could go home. The papers start to curl up when they dry so I had them put their fat, heavy literature books on them while we went to recess. So here is our finished products. They turned out pretty, I think.
Winter Acrostic Poetry…Good job kids!
Polar Bear Watercolors…so pretty!
The acrostic poems we did are all about winter. We brainstormed winter words for W…then I….N….etc and put them all across the front whiteboard. I couldn’t believe how good they were in coming up with creative words! Well, except one of them came up with Elephant for the E. I said, “Now when have you seen an elephant walking around in the winter in Utah…hmmm?” They thought that was funny and we all laughed. So we nixed that word.
Winter Acrostic Poetry
Then they had to use the word in a sentence or phrase on each line. We did them on sloppy-copy, lined paper first, then I edited them for spelling, then we rewrote them on the nice white final-copy paper. We colored the little doo dads on the side with crayon. And I backed them with blue or purple paper for a border. We read some winter books about polar bears, Hedgie the Hedgehog, The Mitten (which names lots of winter animals) while they finished their cutting and pasting. It was a fun afternoon. Don’t you wish you had my job? Teaching is the best job on earth.