We are just about done with our DRIED APPLE WITCHES. Here is Part 2 of the TUTORIAL on how to make them.
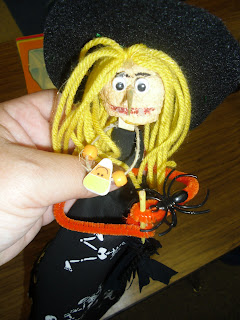 |
| Here’s a good close up of the faces, we used wiggly eyes this year, and added 2 rice for teeth to the red marker smile…. |
Buy a bag of small apples, peel and dip in lemon juice. Push a clove into heads for each eye (OR add wiggly eyes after they are dried). After a week poke a 1 inch piece of toothpick for the nose. Also push in a popsicle stick into the bottom of the head when it is kinda mushy and partially dried out. Dry under a desk lamp on paper towels or marinating tray for 2 1/2 to 3 weeks, rolling them over every day.
 |
| We had 3 colors of hair, rings, chenille stems and lots of different necklaces and fabrics…. |
 |
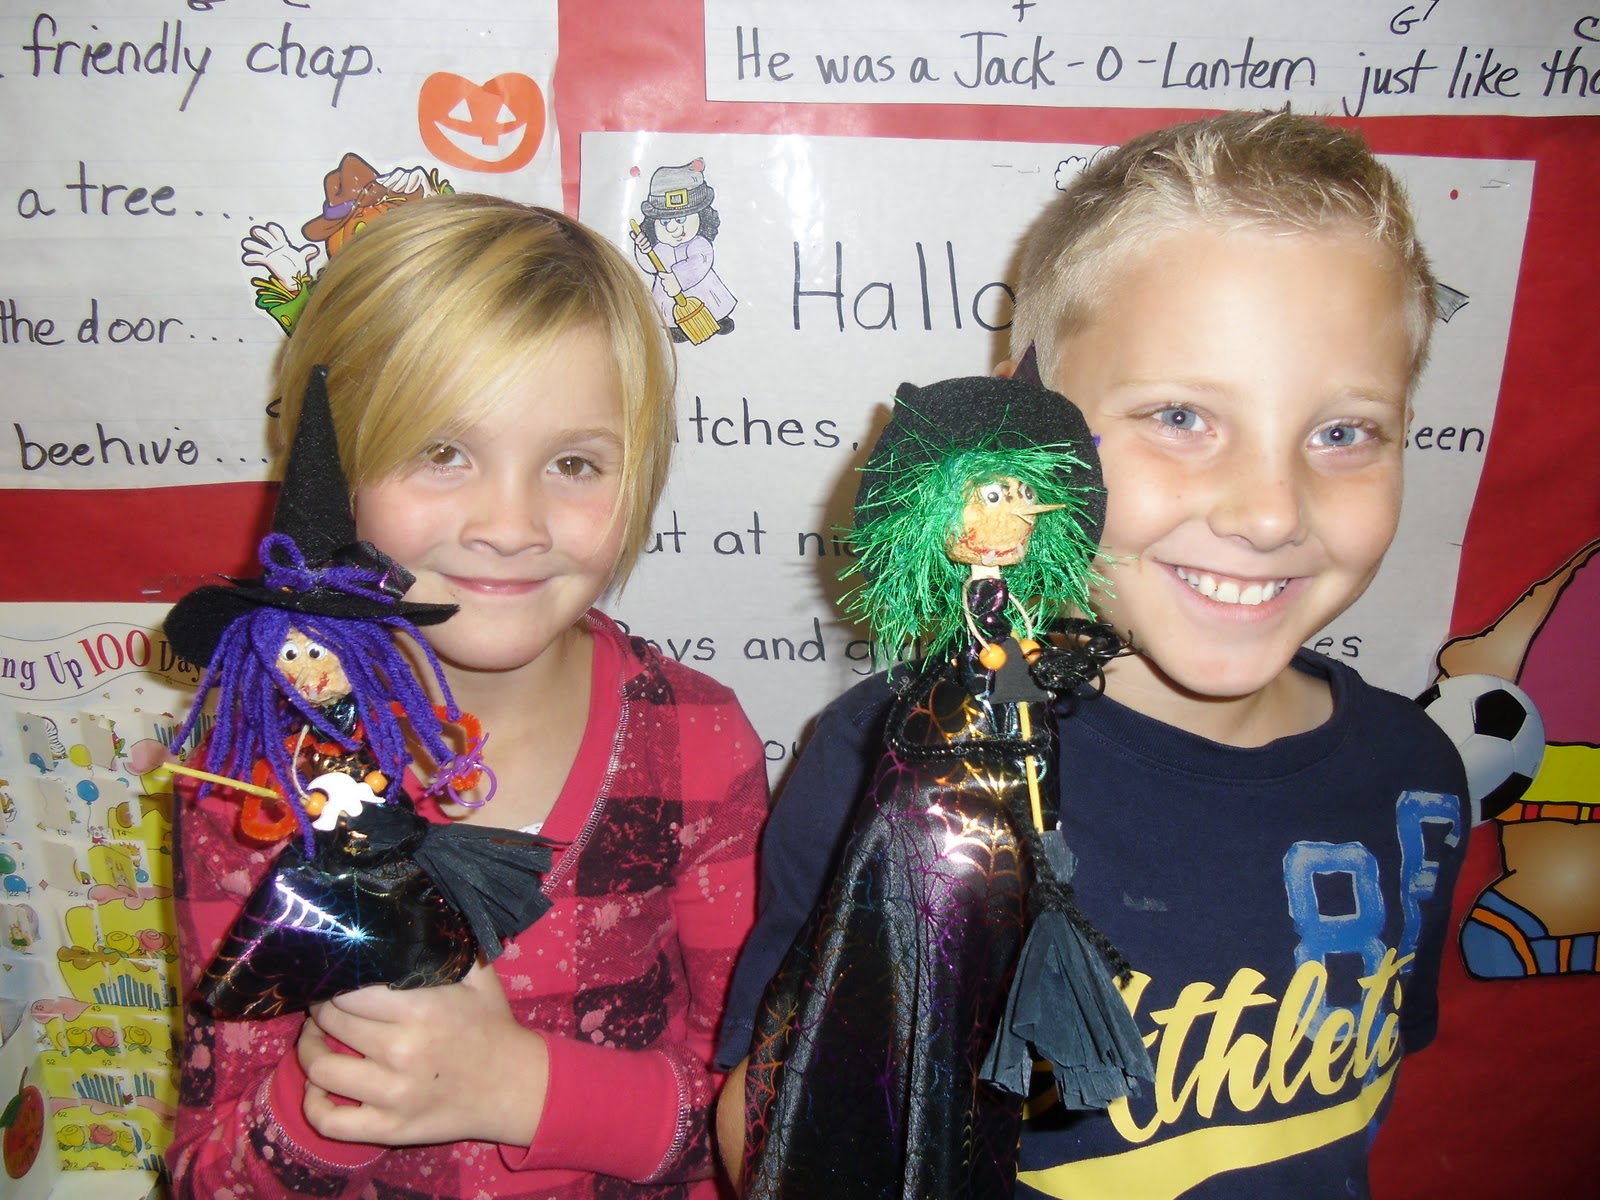
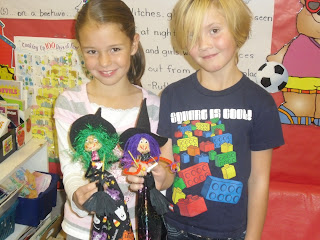
| Gavin and Peter’s witches…. |
 |
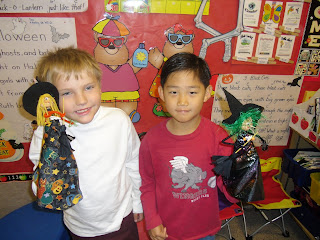
| Morgan and her mom’s witches and Matt’s witch….. |
 |
| Our newest student Zach liked doing witches too! |
 |
| Saige and Nova….The kids LOVED MAKING THEM! |
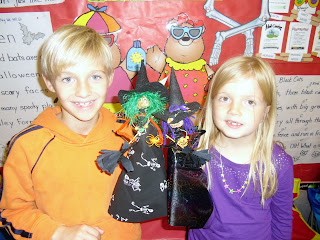 |
| They couldn’t wait to get their pictures taken with them…here’s Ty’s and Brynlin’s witches…. |
Then my lovely parents donated Halloween fabric. We need 1 square foot per student. Make a 1/2 inch slit in the middle of the square foot and place the popsicle stick & head through it. Then secure around the “neck” slit by winding the chenille stem around the stick AND neck fabric twice. Put a spider ring or bat ring on one of the arms made from the chenille stem.
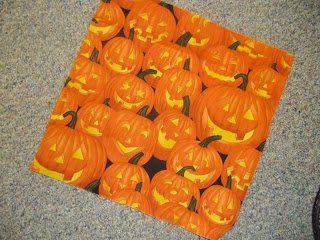 |
| Get a variety of 1 foot squares of Halloween Fabric….then let the kids choose theirs. |
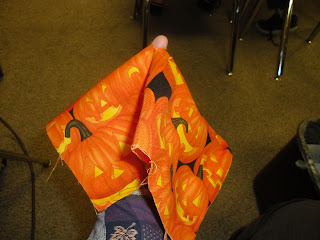 |
| Cut a 1/2 inch square slit right in the middle. |
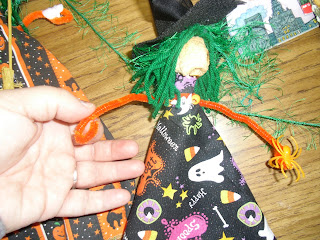 |
Popsicle stick head slides right down into the slit in the fabric…then wrap a chenille stem around twice.
Notice my cute spider ring? |
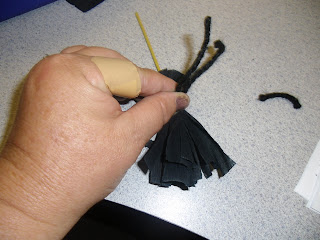
Next is making the witch broom and the witch hat. I had a lovely parent helper, Mrs. Kenner come in with a glue gun and helped me one day last week for an hour or so and one day this week again for an hour. We tag teamed the body and the head. Kids went from her station to mine. Here is how to do the hat and the broom.
 |
The broom is from 1/3 of a wooden skewer with black crepe paper layered and snipped
on the bottom and then tied around the skewer with black yarn. Raffia works great too.
|
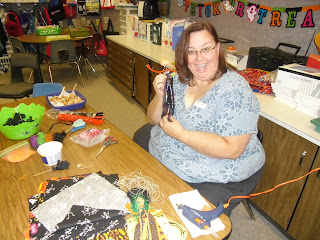 |
| Mrs. Kenner helping us with our witches…THANKS SO MUCH! |
 |
| Here were the 2 shapes cut from black felt, cone and circle…roughly 4 inches each. |
 |
| Put a strip of hot glue down one of the 90 degree sides, then roll a cone… |
 |
Then glue the cone to the circle….It was pretty quick…I added a skinny triangle of material
to tops for a bow, topped with a yarn bow. |
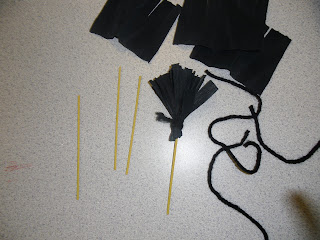 |
| The black crepe paper was 2 1/2 inch squares layered, snipped & wrapped & tied on skewer pieces |
 |
| Or you could use pieces of raffia 4 of the 5 inch pieces folded in half and tied on skewers…. |
 |
| Here I am tying the yarn around the crepe paper layers… |
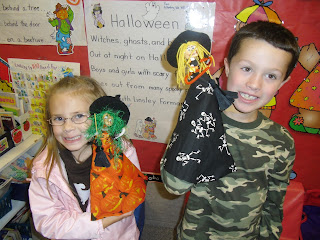 |
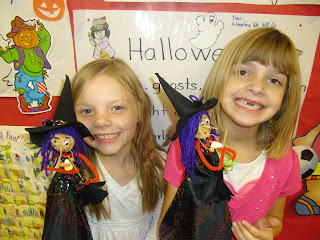
| You can tell the kids are very proud of their witches! |
 |
| They all look a little different with hair color and material all chosen by the kids…. |
 |
They also chose their arm color and “spider ring” colors and made their own necklaces out of
Oriental Trading Halloween beads Link HERE to see and orange pony beads on string. |
 |
I think the most popular hair color was green yarn, but they chose from purple and yellow too….
also the necklaces all turned out different… |
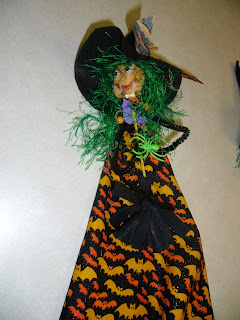
One hand is wrapped around the “rings” and the other around the brooms, but they are also glue gunned down to the front of the dress. I also trimmed just a little triangle off the fronts of the dresses to round them out a little. The kids made the faces, added the wiggly eyes and I added 2 rice teeth to the smiles.
 |
| I think these Allie and Emma tried to make twin witch dolls? Don’t you think they succeeded? |
 |
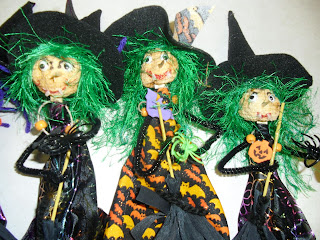
| Probably the 3 most different looking apple head witch dolls in the class! |
 |
Here’s how I did the hair…wrapping around my hand, then tie in the middle, then clip the round ends
& attach to top of apple with glue gun. Then hat over that…. |
 |
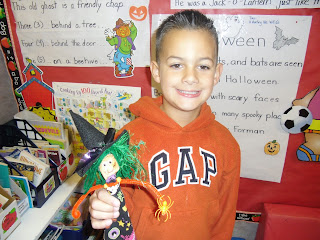
| I think this one was my favorite.apple head witch doll……so WITCHY LOOKING with those rice teeth! |
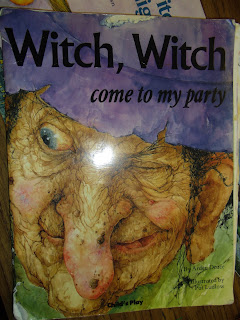
We’ve been singing “FLY FLY WITCHY” in music so I could hear kids singing it off and on while we were making our witches while writing Halloween Puppet Shows (next post). I have read them most of these books for read alouds after lunch too. My favorite is Witch, Witch, Come to My Party! It has the most gorgeous full page art of any book I’ve ever seen! The kids gasped in awe as I turned the pages. Just look at the cover to get an idea!
 |
| Fun Witch Books to get us thinking about our puppet shows we are writing….Characters, Settings, Problems and Solutions… |
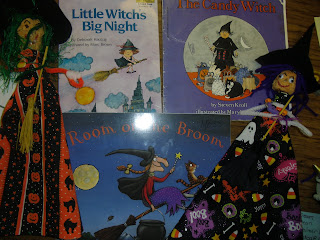 |
| More Witchy Literature books….and Here’s my sample witches, past and present…. |
Hope you loved seeing our witches as much as we’ve loved making them! Happy Halloween!