
We were busy this week making terrariums out of 2 liter clear bottles. We had a couple of mom helpers cut them in half. (Thanks to Kam’s mom and Nayantara’s mom). It was pretty treacherous with just some scissors! I pulled some ivy and creeping charlie out of my garden and placed them in water for a week hoping they would grow roots. I should have left them longer according to Mr. Moss. (He’s more of a gardener than I am). But I looked online and ivy will grow pretty much from a cutting. We will see. So far so good! And the bishop’s weed I pulled out from the roots. Everybody chose 2. I had some succulents too.
 |
| Plants and Seeds Unit Activity was Making Terrariums out of a clear, 2 Liter Soda Bottle! |
Last Week we read the Jr. Great Book Jack and the Beanstalk. And just for fun we read a different rendition of it in the form of a reader’s theater, which is ALWAYS fun! Some retell picture cards to color I found are HERE at Sparklebox. Or you could make up your own titles (Jack and the potato plant,Jack and the Cornstalk, Jack and His Cow, etc.) That would be a hoot to write a creative story using Jack and the Beanstalk as a springboard!
 |
| I think they all are proud of their terrarium plantings. |
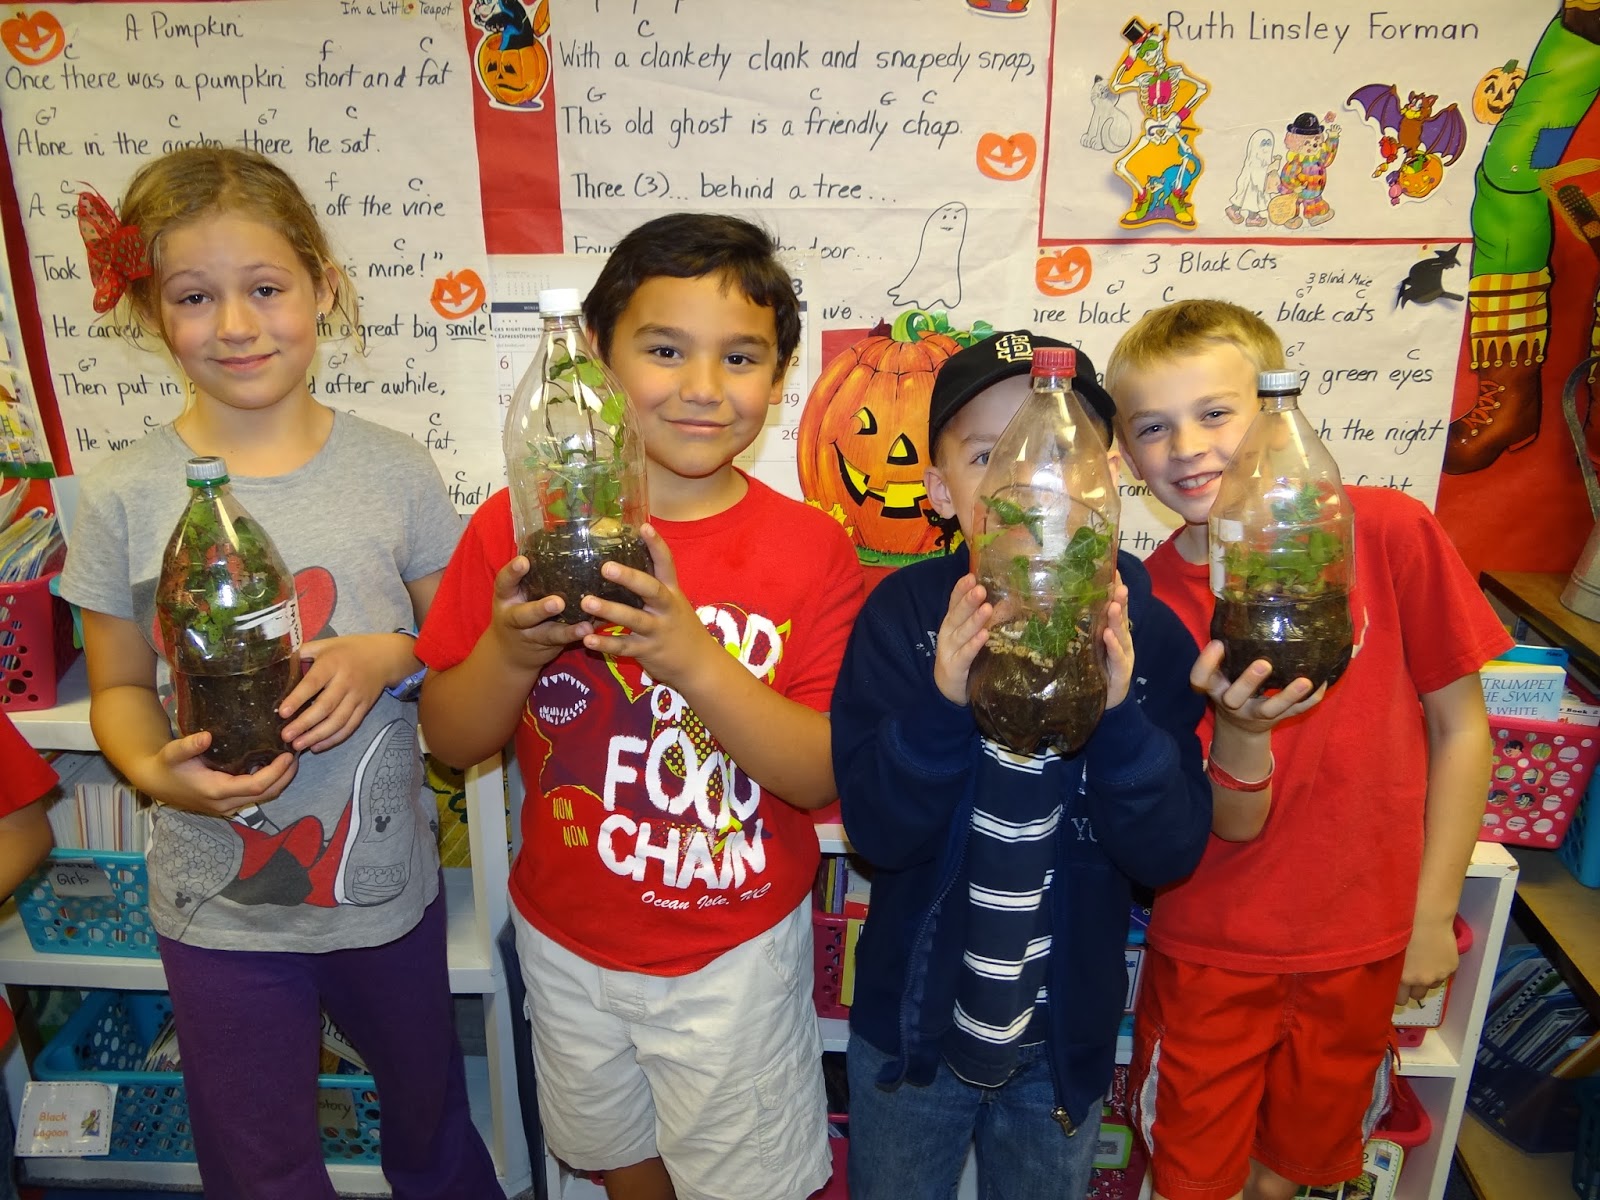 |
| Some kids added shells to their soda bottle terrariums, to make them look even prettier! |
Also At Sparklebox.org are some PUPPET FACES for acting out the parts in the reader’s theater. HERE is a cute reader’s theater of J and the B. And HERE is the one we used. This site has lots of reader’s theaters. We will soon do The Little Red Hen in a few weeks to go with The Bremen Town Musicians. It’s coming up in a few weeks in our Reading Streets Anthology.
 |
| I think the terrariums turned out pretty neat. It was easy thanks to my mom helpers! |
 |
| A couple of best friends and their terrariums from a 2 liter bottle. |
 |
| I think K loved doing this little science activity more than anybody else. She loved her terrarium! (notice the pride on her face). She would only put in one plant because she added some veggie seeds to hers and wasn’t sure they would have enough room to grow. I hope she isn’t expecting a bean stalk! 🙂 |
After reading the Jr. Great Book version of Jack and the Beanstalk, We each wrote out a question to ask the class. We had a big discussion about how honest Jack was, and if the Giant’s wife was nice or not, (lots of argument on that one!) or why nobody comes down the beanstalk? We are trying to write rich, thought provoking questions good for discussions. AND, We are learning to look in the story for “evidence”.
 |
| These girls loved making terrariums too. |
 |
| I think they were excited to take their terrariums and plant journals home this week! |
We are also trying to learn to find the “main idea” in stories. At Brainpop I found a powerpoint on how to find the main idea. So we looked at that and practiced it on the Scholastic News on “Bats”. They had some questions on Main Idea on the back. It was a pretty easy one and the students all got it.
 |
| My class is so cute. We are all wearing red because it was red ribbon week! |
 |
| Alas, even though we had 102 red items we wore, we still didn’t win for class with the most red!! |
Some fun color and sequence cards to go with the story are HERE at Sparklebox. These could also be made into a retelling book to add some sentences to. HERE at Worknotes.com are some easy reader’s theaters to try.
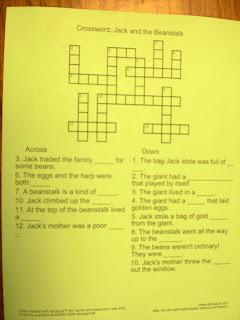
There is also a crossword puzzle of Jack and the Beanstalk at this link from ABC teach. It was a fun activity for my kids to do after reading the story and acting out the reader’s theater. My students loved doing it.
 |
| Clear 2 liter bottles make pretty good terrariums. I was thinking if I wanted to really seal them up I could have wrapped the seam in some 2 inch book tape, but all of the kids wanted to water their plants! Oh well. |
 |
| Close up of our terrariums |
A good step by step how to is found at this link to Teaching Tiny Tots HERE.
 |
| We added some rocks to the bottom, then about 3 inches of good potting soil, then the plants, and topped it with rocks again (and a few pellets of plant food). |
TERRARIUMS (using empty 2 liter bottles)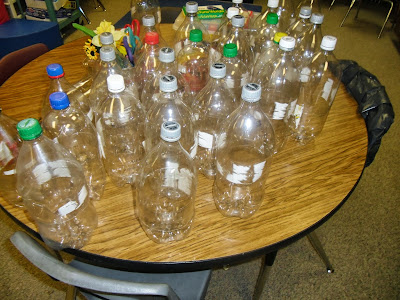
A good book to read is From Seed to Plant by Gail Gibbons to start the plant unit. She is a master of children’s science books.
2 Liter bottle terrarium instructions HERE
Another fun planting activity I’ve done in the past is doing “Sprout Houses” in a zip lock baggie. That’s what we did last year. I pass out Lima bean seeds that have been soaking overnight. Then I pass out wet cotton balls. A link to a fun lesson plan using Lima beans is HERE at A to Z Teacher Stuff.
We use the Lima beans as our seeds for our sprout houses which are another kind of terrarium. Tape them up against a window for light. Watch what happens in a week! I really like the kids to plant radishes when we’ve done plantings in a clear plastic cup because they come up within about 2 to 3 weeks and you can see the roots growing.
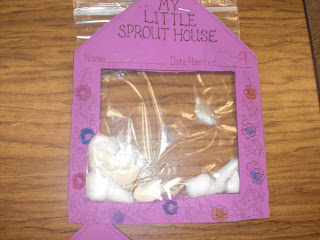 |
| Wet Lima Beans and cotton balls in a ziplock baggie make cute Sprout Houses. |
MUSIC (use percussion instruments)
A Seed Needs (To the tune of “Ta-ra-ra Boom-de-ay” )
I see you are a seed,
Tell me what DO you need?
I need some soil to grow,
And then the sun to glow,
Water to make me wet,
Air for my leaves to get,
Space for my roots to spread,
I’ll make your flower bed!
by: Iram Khan
BOOKS on PLANTS AND SEEDS
From Seed to Plant by Gail Gibbons
Frog and Toad Together by Arnold Lobel
Jack in the Beanstalk by Stephen Kellogg
POEMS I always look for a poem to put on the back of art to sing or read together for shared reading. This is a great one for the backs of our puffy pumpkins we made out of orange butcher paper. Thanks mom helpers for coming to help us cut out our orange pumpkins for stuffing. See them HERE. .
 |
| We made the Life Cycle of a Pumpkin too. Check those out HERE. The Halloween Jack-o-Lanters stuffed with newspaper. The lifecycles and seed songs were on the back.
|

CELERY SCIENCE EXPERIMENT – We did THIS experiment at teaching tiny tots too. Here are some pictures after the weekend. We added red and blue food coloring (thanks to Brooke’s mom for the food coloring) to 2 stalks of celery in 2 jars and watched to see what would happen.
 |
| Celery and food coloring experiment – you can see the celery turned red (left) and blue (right) at the tips of the leaves! |
We talked about what would happen to plants if people put pollution items in lakes and streams like oil, paint and car fluids and it went downstream and plants used that water to survive. We decided the plants might get sick. We wrote about it in our plant journals. I also had shrunk down some 8 1/2 x 11 worksheets on all kinds of plant topics and made the kids Plants and Seed Journals.
 |
| Our Plant and Seed Journals had lots of interesting activities in them like labeling plants, writing out what part of the plant we eat, crosswords, fill in the blanks, and this celery experiment. |

MATH ACTIVITIES
A fun MATH ACTIVITY designing a garden for Frog and Toad for their 24 plants can be found HERE at birdville.k12. It is a math exemplar which are great math problems to solve that are challenging and fun. I will give the kids a page of clip art plants to color with 6 of each plant and they will choose the number of plants and their own totals to map out a garden “array”. The book is called Frog and Toad Together by Arnold Lobel. The chapter is called The Garden. HERE at Virtual Vine are some other Frog and Toad activities like compound words which are great to print.
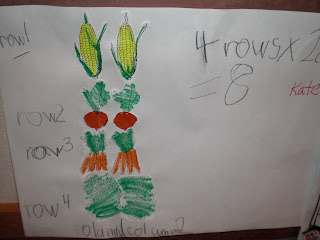 |
| Here are some pictures of multiplication arrays we’ve done after reading Jack and the Beanstalk. |
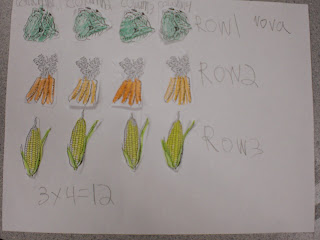 |
| Making Multiplication Arrays with vegetables in rows and columns. |
I turned it into a lesson on “arrays” and multiplication. They lined their garden veggies up and multiplied the “rows” times the “columns” of veggies. Here are a few finished ones. Some did larger arrays and some just did 2 x 4. So it is a great lesson for differentiation with that open ended aspect to it. I also modeled one on the board and wrote in “column 1, column 2 and Row 1, Row 2 etc. So they labeled their columns and rows. Everybody did their totals a little differently.
PARTS OF A PLANT – MAGNET CENTER
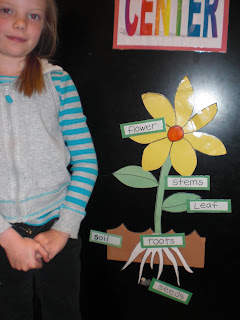 |
| Parts of the Plant Magnet Center Idea…. |
This idea was taken from a Red Butte Garden docent that came into my 2nd grade classroom and did this magnetic parts of a plant one year. I loved it so much I made one that very day! I have the parts of a yellow sunflower plant I made up and laminated and put magnets on the backs of all the pieces, along with the labels that I place out at the magnet center. Kids love to put the flowers together and label them. The other magnet center (on filing cabinet sides) has pictures of parts of plants we eat and what type it is (root, leaf, flower/fruit, stem etc.)